How to Scale Glyphs in Fontforge
This tutorial will show you how to scale glyphs in Fontforge.
How this Tutorial is Organized
- We’ll start with a brief definitions section.
- Next we’ll select the glyphs we want to scale.
- Then we’ll go through the settings within the Transform dialogue box.
- Then we’ll test the scaled glyphs to make sure we’re happy with them.
i. You can download Fontforge for Windows, Mac, or Linux from here.
ii. The font used in this tutorial is called Lovers Quarrel. It’s a free font for personal and commercial use with an open source license.
iii. This tutorial is shown on a Windows 10 computer with Fontforge version 03142020.
iv. Fontforge does crash, so save often.
Definitions
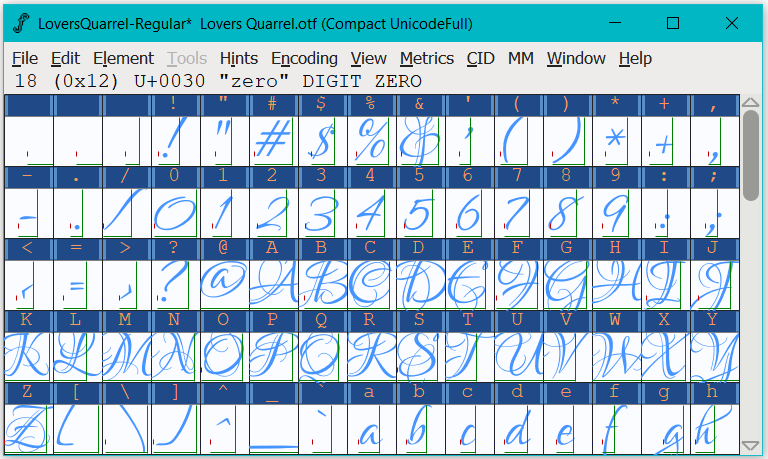
This is ‘Font View’
Selecting Glyphs
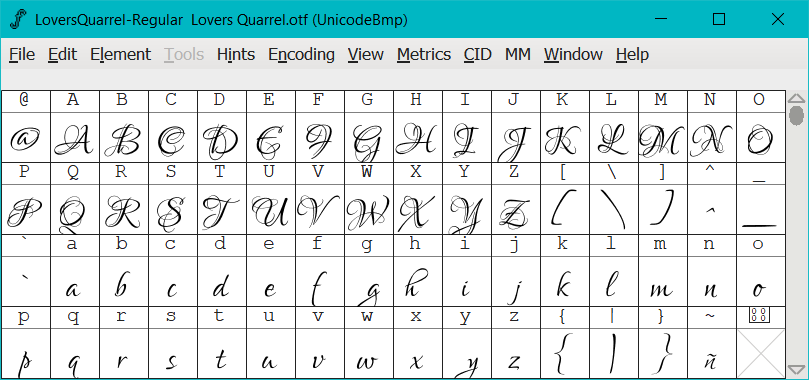
In this tutorial we’ll be selecting all the glyphs in Lovers Quarrel.
-
To do this, make sure you’re in ‘Font View’ then,
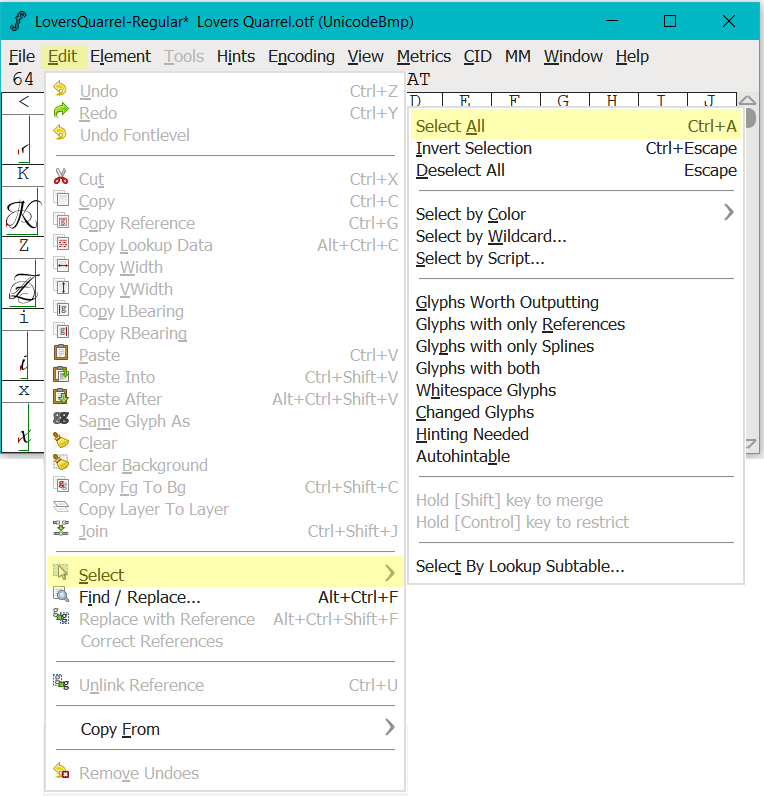
a) Click on ‘Edit>Select>Select All’
-
Now that all the glyphs are selected,
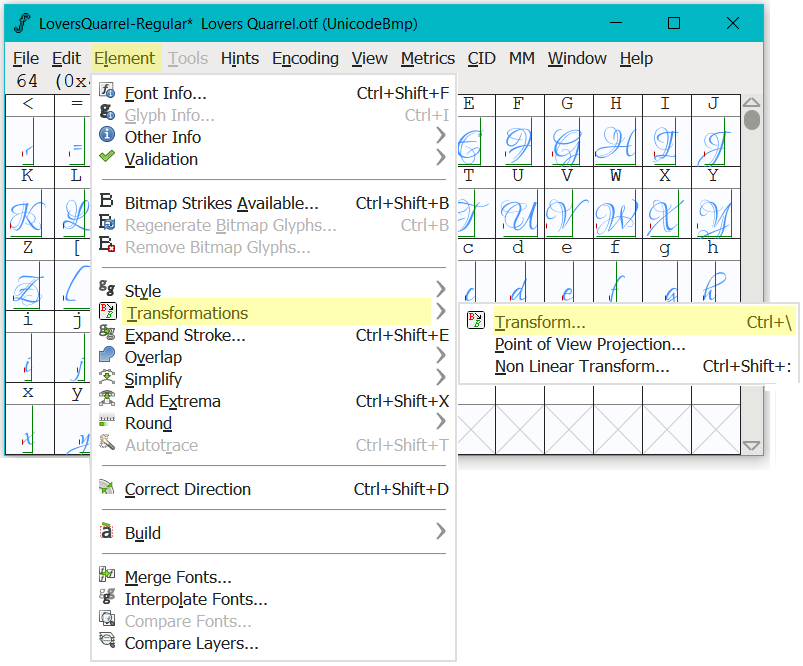
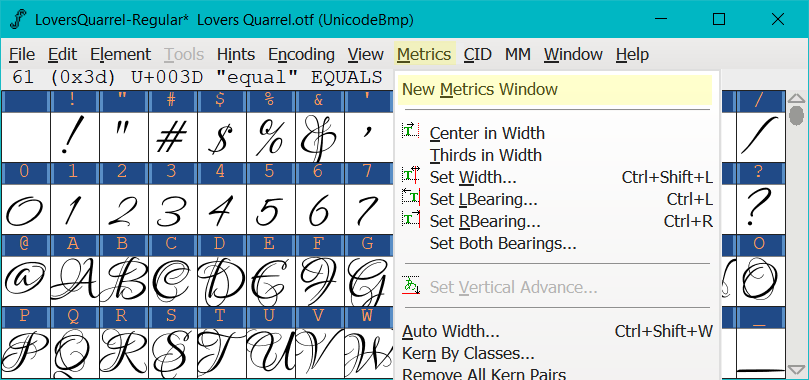
a) Click on ‘Element>Transformations>Transform’.
-
The transform dialogue box will pop up and the next step will be to change the settings.
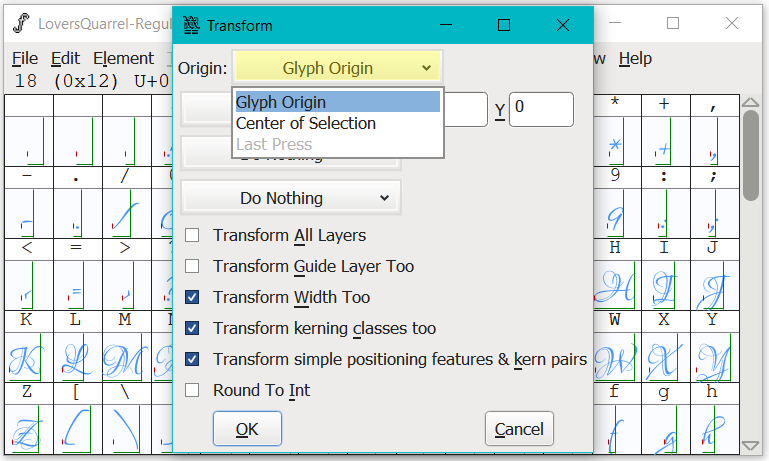
Transform Dialogue Box
-
The transform’ dialogue box includes several settings for you to consider, including performing a sequence of events.
a) This tutorial does not explore sequences. -
Start by clicking on the drop down box next to the word ‘Origin:’ then,
a) select ‘Glyph Origin’ from the list.i. Selecting the ‘Glyph Origin’ option will scale our glyphs without compromising the original font structure, meaning kerning and spacing is maintained.
-
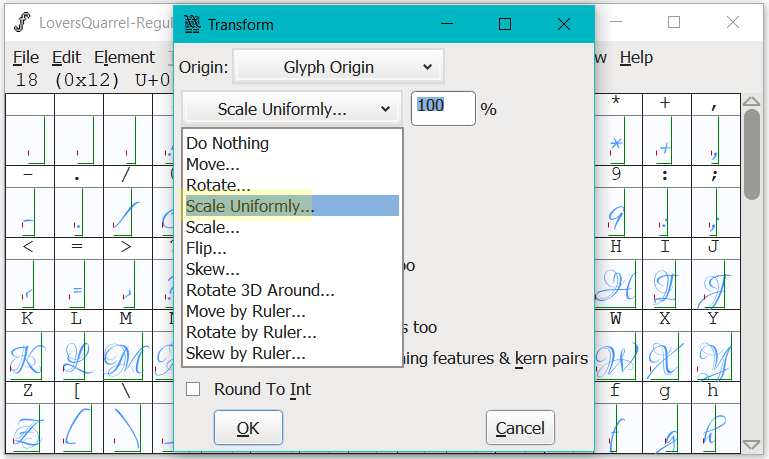
Next chose one of the following:
a) Click ‘Scale Uniformly’ if you intend on scaling the width and height equally, or
b) Click ‘Scale’ if you intend to scale with different width and height percentages.
For this tutorial, we’ll be selecting ‘Scale Uniformly’.
-
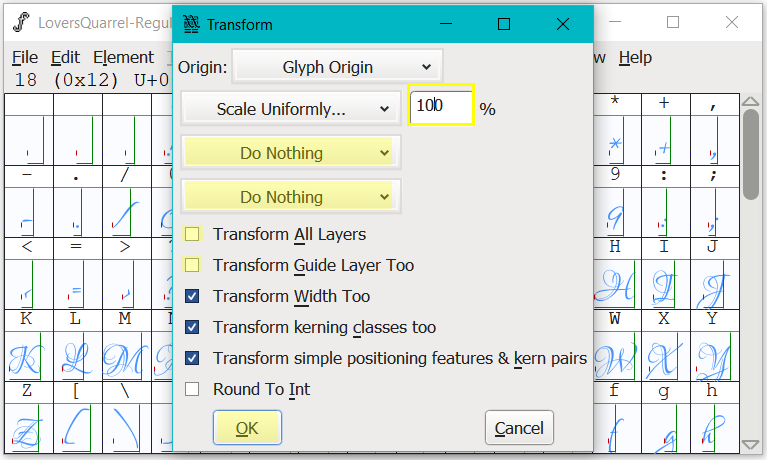
Enter your scale dimensions out of 100.
a) I use between 140% - 160% when glyphs are around 600 above the baseline. -
If you would like to do more transforming and perform a sequence,
a) Select the ‘Do Nothing’ drop down boxes, and choose the events that will occur after scaling. -
In this guide, we just want to scale, therefore we’ll be selecting ‘Do Nothing’.
-
If you’ve inserted additional ‘Layers’, or ‘Guide Layers,’ tick these two boxes, otherwise leave them unticked.
-
Tick the next three (3) boxes, then
a) Click on ‘OK’.
-
Now wait for the transformation action to occur.
Review & Test
-
Next, we’ll look at two (2) options to review and test our scaled glyphs,
a) using Fontforge’s ‘Metrics View’, and
b) generate and install the font, and test it in Adobe Photoshop and Adobe Illustrator.Metrics View Testing
-
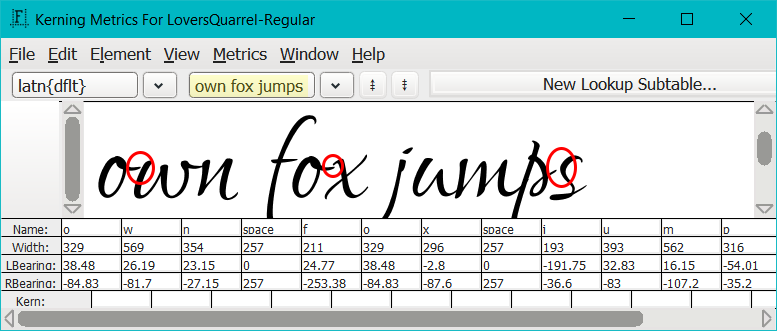
First we’ll review and test our scaled glyphs in ‘Metrics View’. Start from ‘Font View’ then,
a) click on ‘Metrics>New Metrics Window’
-
With the ‘Metrics View’ open,
a) type into the text box and review each glyph for inconsistencies or things you want to change. -
For example, I’ve typed in ‘own fox jumps’ and noticed a couple of letters don’t join up. This can be fixed using the kerning feature in Fontforge.
a) I’ve circled these in red for illustration purposes.
-
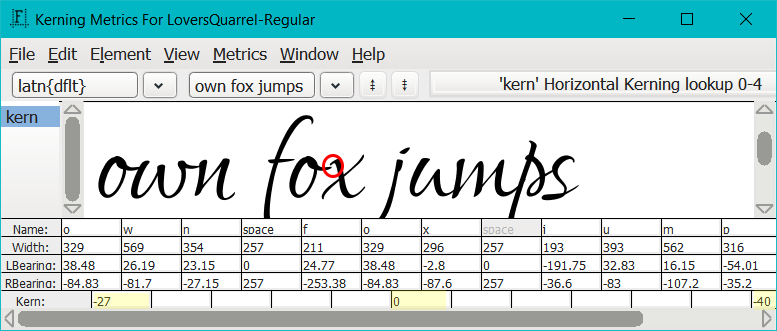
This is what it looks like after adjusting the kerning.
a) It turns out the ‘o’ and ‘x’ are vertically apart and need to be manually extended in ‘Char View’.
-
How to kern will not be discussed in this tutorial because it’s such a big topic and this tutorial is focused on how to scale glyphs.
Generating and Installing the Font
-
Now we’ll look at reviewing and testing the scaled glyphs by generating and installing the font.
-
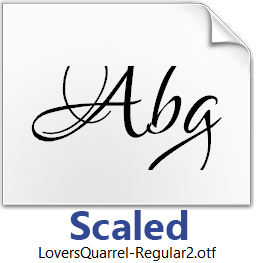
If you’re unsure on what to do with the ‘generate font’ settings, head on over to my Abg Font Thumbnail tutorial for detailed instructions on generating fonts.
-
After you’ve generated your updated font,
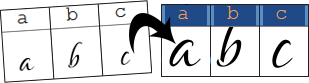
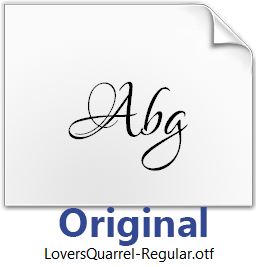
a) compare your scaled font with the original by double clicking on the font thumbnails to open.
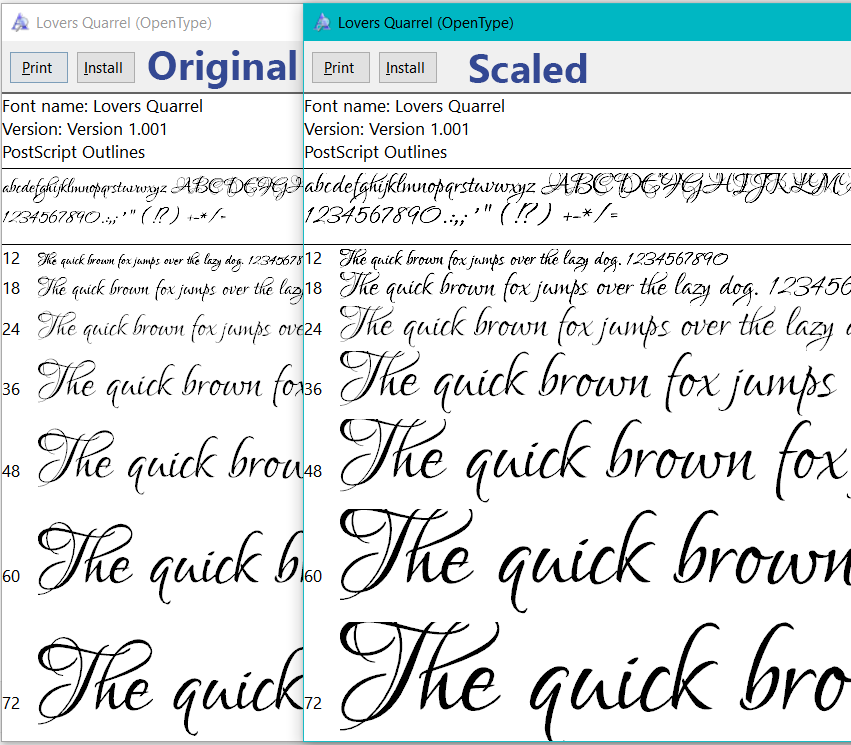
-
Identify areas you may want to change.
-
For example, I’ve circled these in red for illustration purposes.

-
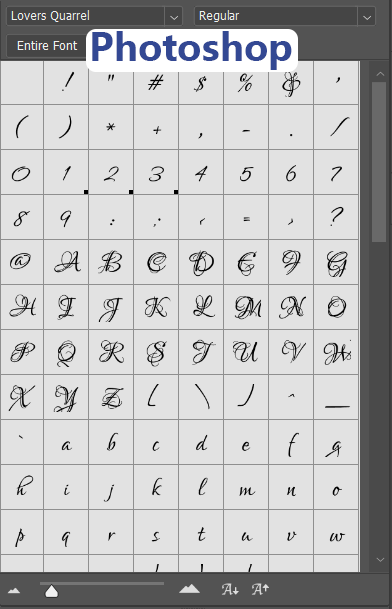
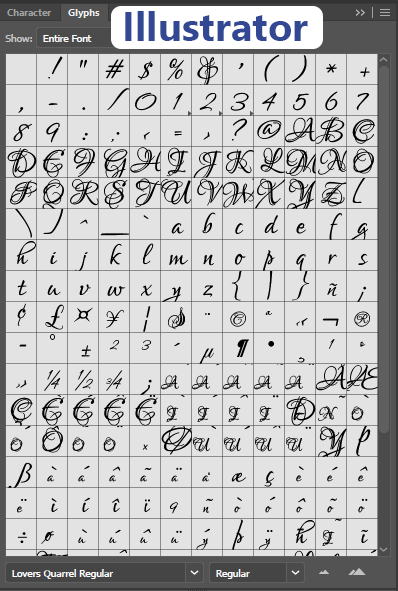
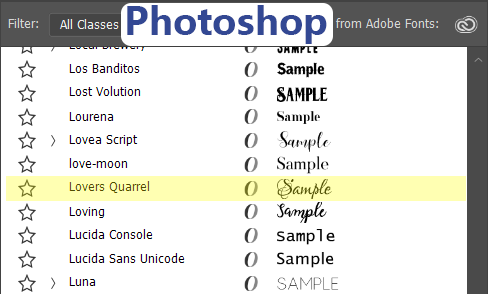
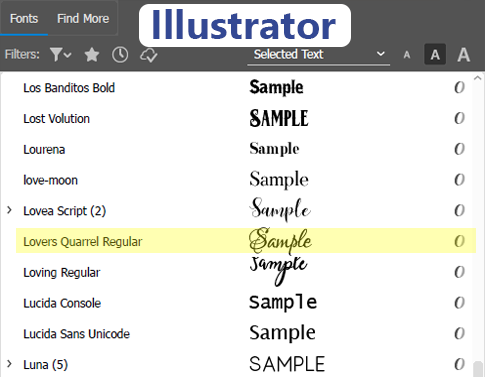
I then installed the scaled font and opened Adobe Photoshop and Adobe Illustrator and tested the font, to see if it needed changes or it’s simply part of the font style.
That brings us to the end of this tutorial
I hope this tutorial has been of assistance and you can put some of the information to good use when scaling glyphs.